Follow these steps to activate the DJI Goggles with the DJI Assistant 2 application:
1) Install the latest version of the DJI Assistant 2 application (version 1.1.0-2 or higher). You can download the DJI Assistant 2 installer from the Mavic downloads page.
2) Connect the DJI Goggles to your computer using a micro USB cable.
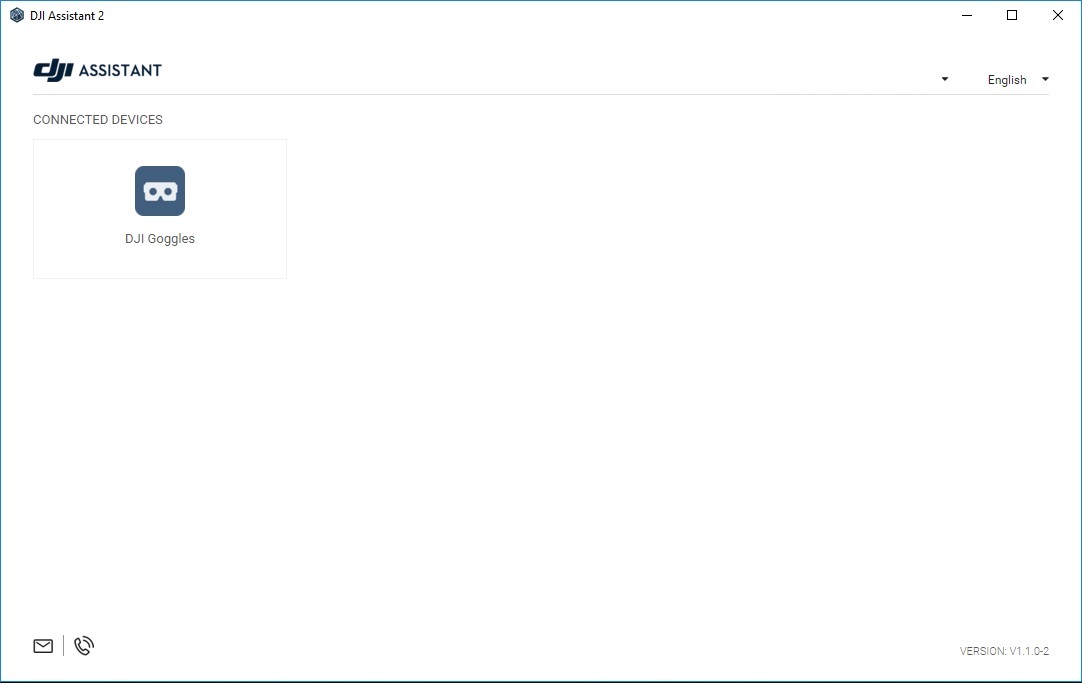
3) Start the DJI Assistant 2 application.
4) Power on the DJI Goggles by pressing the power button quickly and then pressing and holding it (just like the Mavic batteries).
5) Use the touch pad on the right side of the DJI Goggles to navigate through several prompts until you’re prompted to activate the goggles via the DJI Assistant 2 app or DJI GO. Choose DJI Assistant 2.
6) In the DJI Assistant 2 to app, click “DJI Goggles” in the “CONNECTED DEVICES” list.
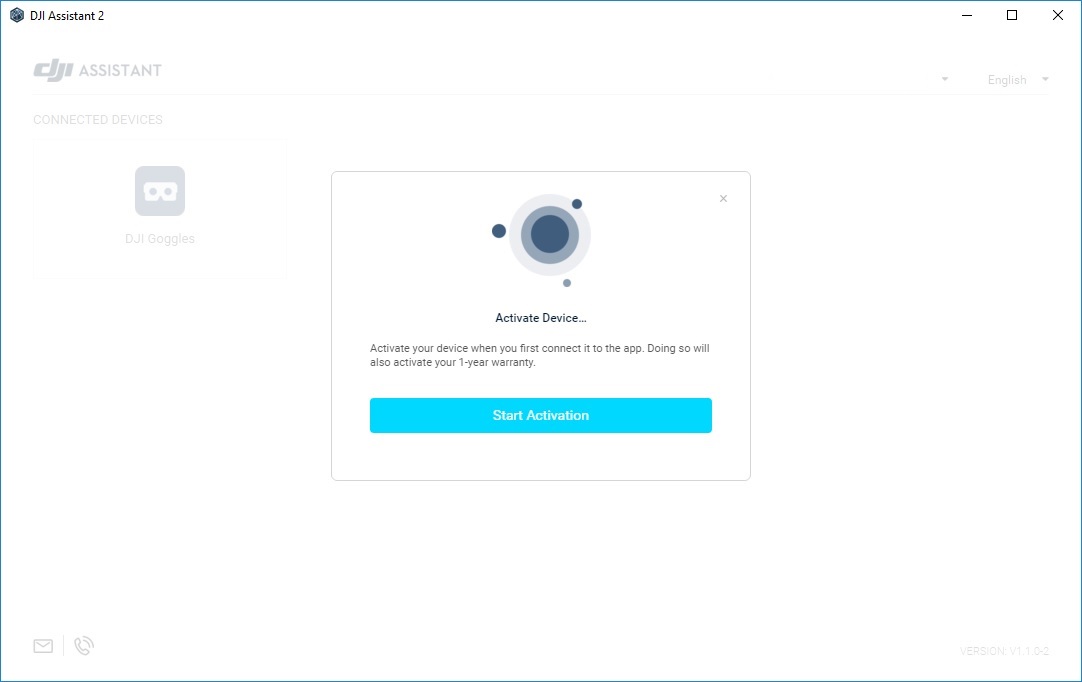
7) Click the “Start Activation” button to activate the goggles.
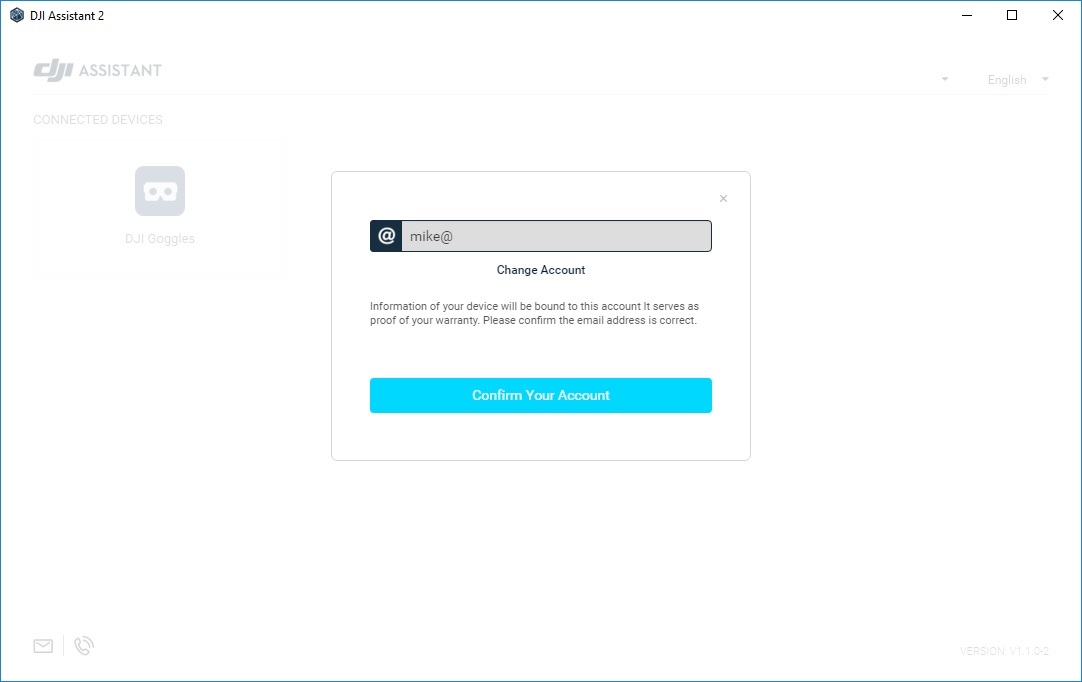
8) Enter the email address for your DJI account and click the “Confirm Your Account” button.
nbsp;
9) Click the “Complete” button after the activation has been completed.

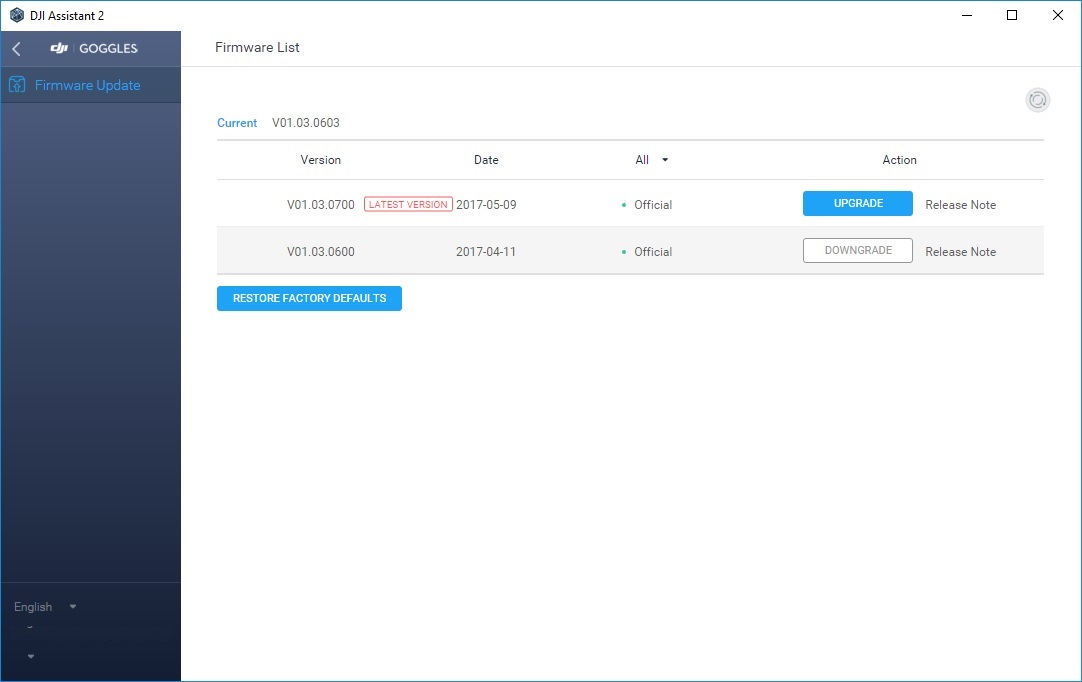
10) If a firmware update is available, click the “UPGRADE” button to initiate the firmware installation process.
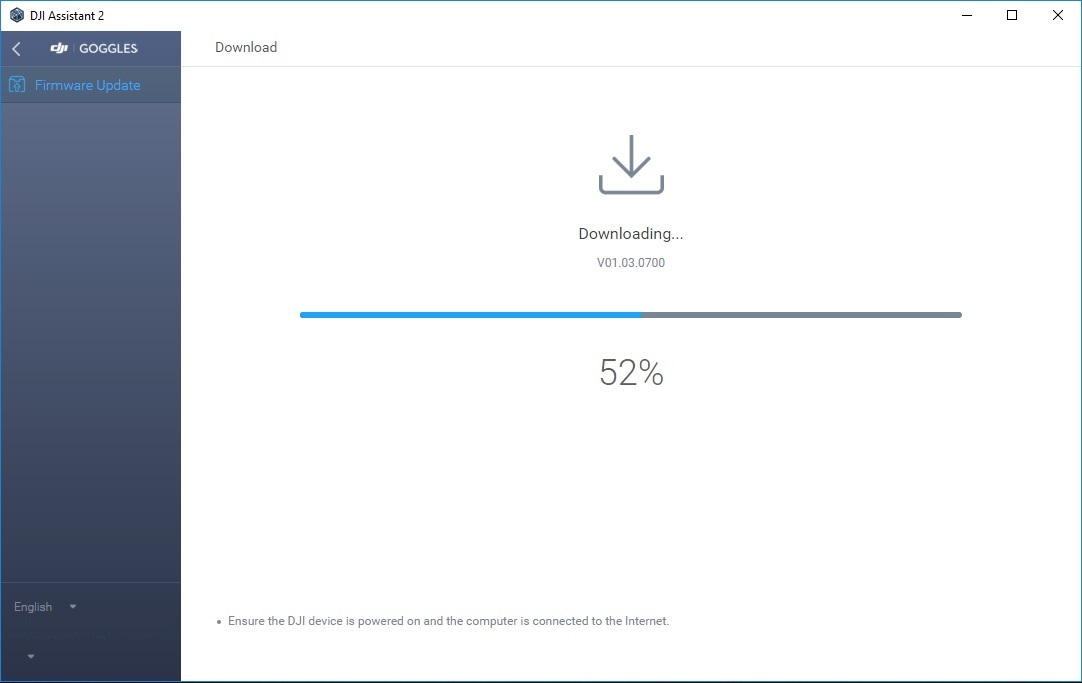
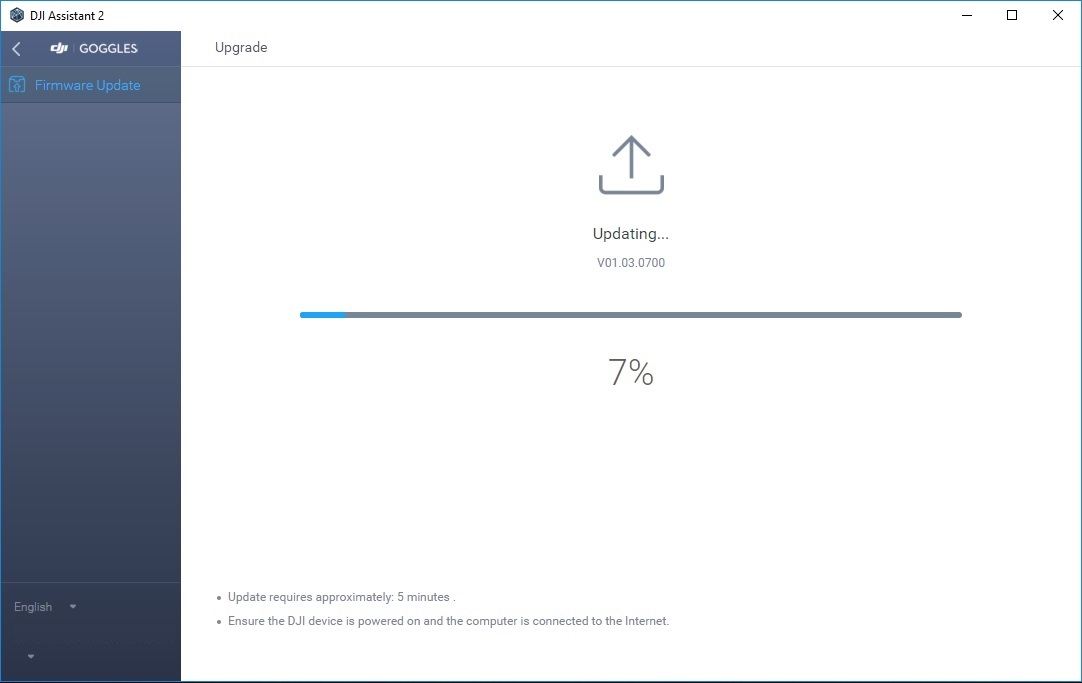
11) Click the “START UPDATE” process to download and install the new firmware update.

12) After the firmware has been downloaded and updated, an “Update Complete!” message should appear.

13) The DJI Assistant 2 app should now show the latest firmware is installed.

14) Exit the DJI Assistant 2 app.